Webhook Integration
Webhooks provide a more efficient way to receive API responses from MagicalAPI. Instead of repeatedly polling with a request_id to check if your results are ready, webhooks allow you to receive the response automatically when processing is complete.
Why Use Webhooks?
Traditional API workflow requires multiple requests:
- Submit your initial request and receive a
request_id - Poll the API repeatedly with the
request_idto check if results are ready - Continue polling until the response is available
With webhooks, you simply:
- Submit your request with a webhook URL
- Receive the response automatically at your endpoint when ready
This approach:
- Reduces API calls - No need to poll repeatedly
- Improves efficiency - Get results immediately when ready
- Simplifies code - No polling logic needed
- Saves resources - Less overhead on both client and server
How Webhooks Work
When you include a webhook URL in your API request, MagicalAPI will send a POST request to your endpoint with the complete response payload once processing is finished.
// Your API request for LinkedIn Profile Scraper with webhook
{
  "profile_name": "williamhgates",
  "webhook_url": "https://yourdomain.com/api/webhook"
}
When processing completes, we'll send the results to your webhook endpoint:
POST https://yourdomain.com/api/webhook
Content-Type: application/json

{
  "status": "completed",
  "data": {
    // Complete response data
  },
  "usage":{
   "credits":0
  }
}
Setting Up Webhooks
Step 1: Create Your Webhook Endpoint
Create a POST endpoint on your server to receive webhook notifications. The endpoint should:
- Accept
POSTrequests - Support HTTPS
- Handle
application/jsoncontent type - Return a
200 OKresponse
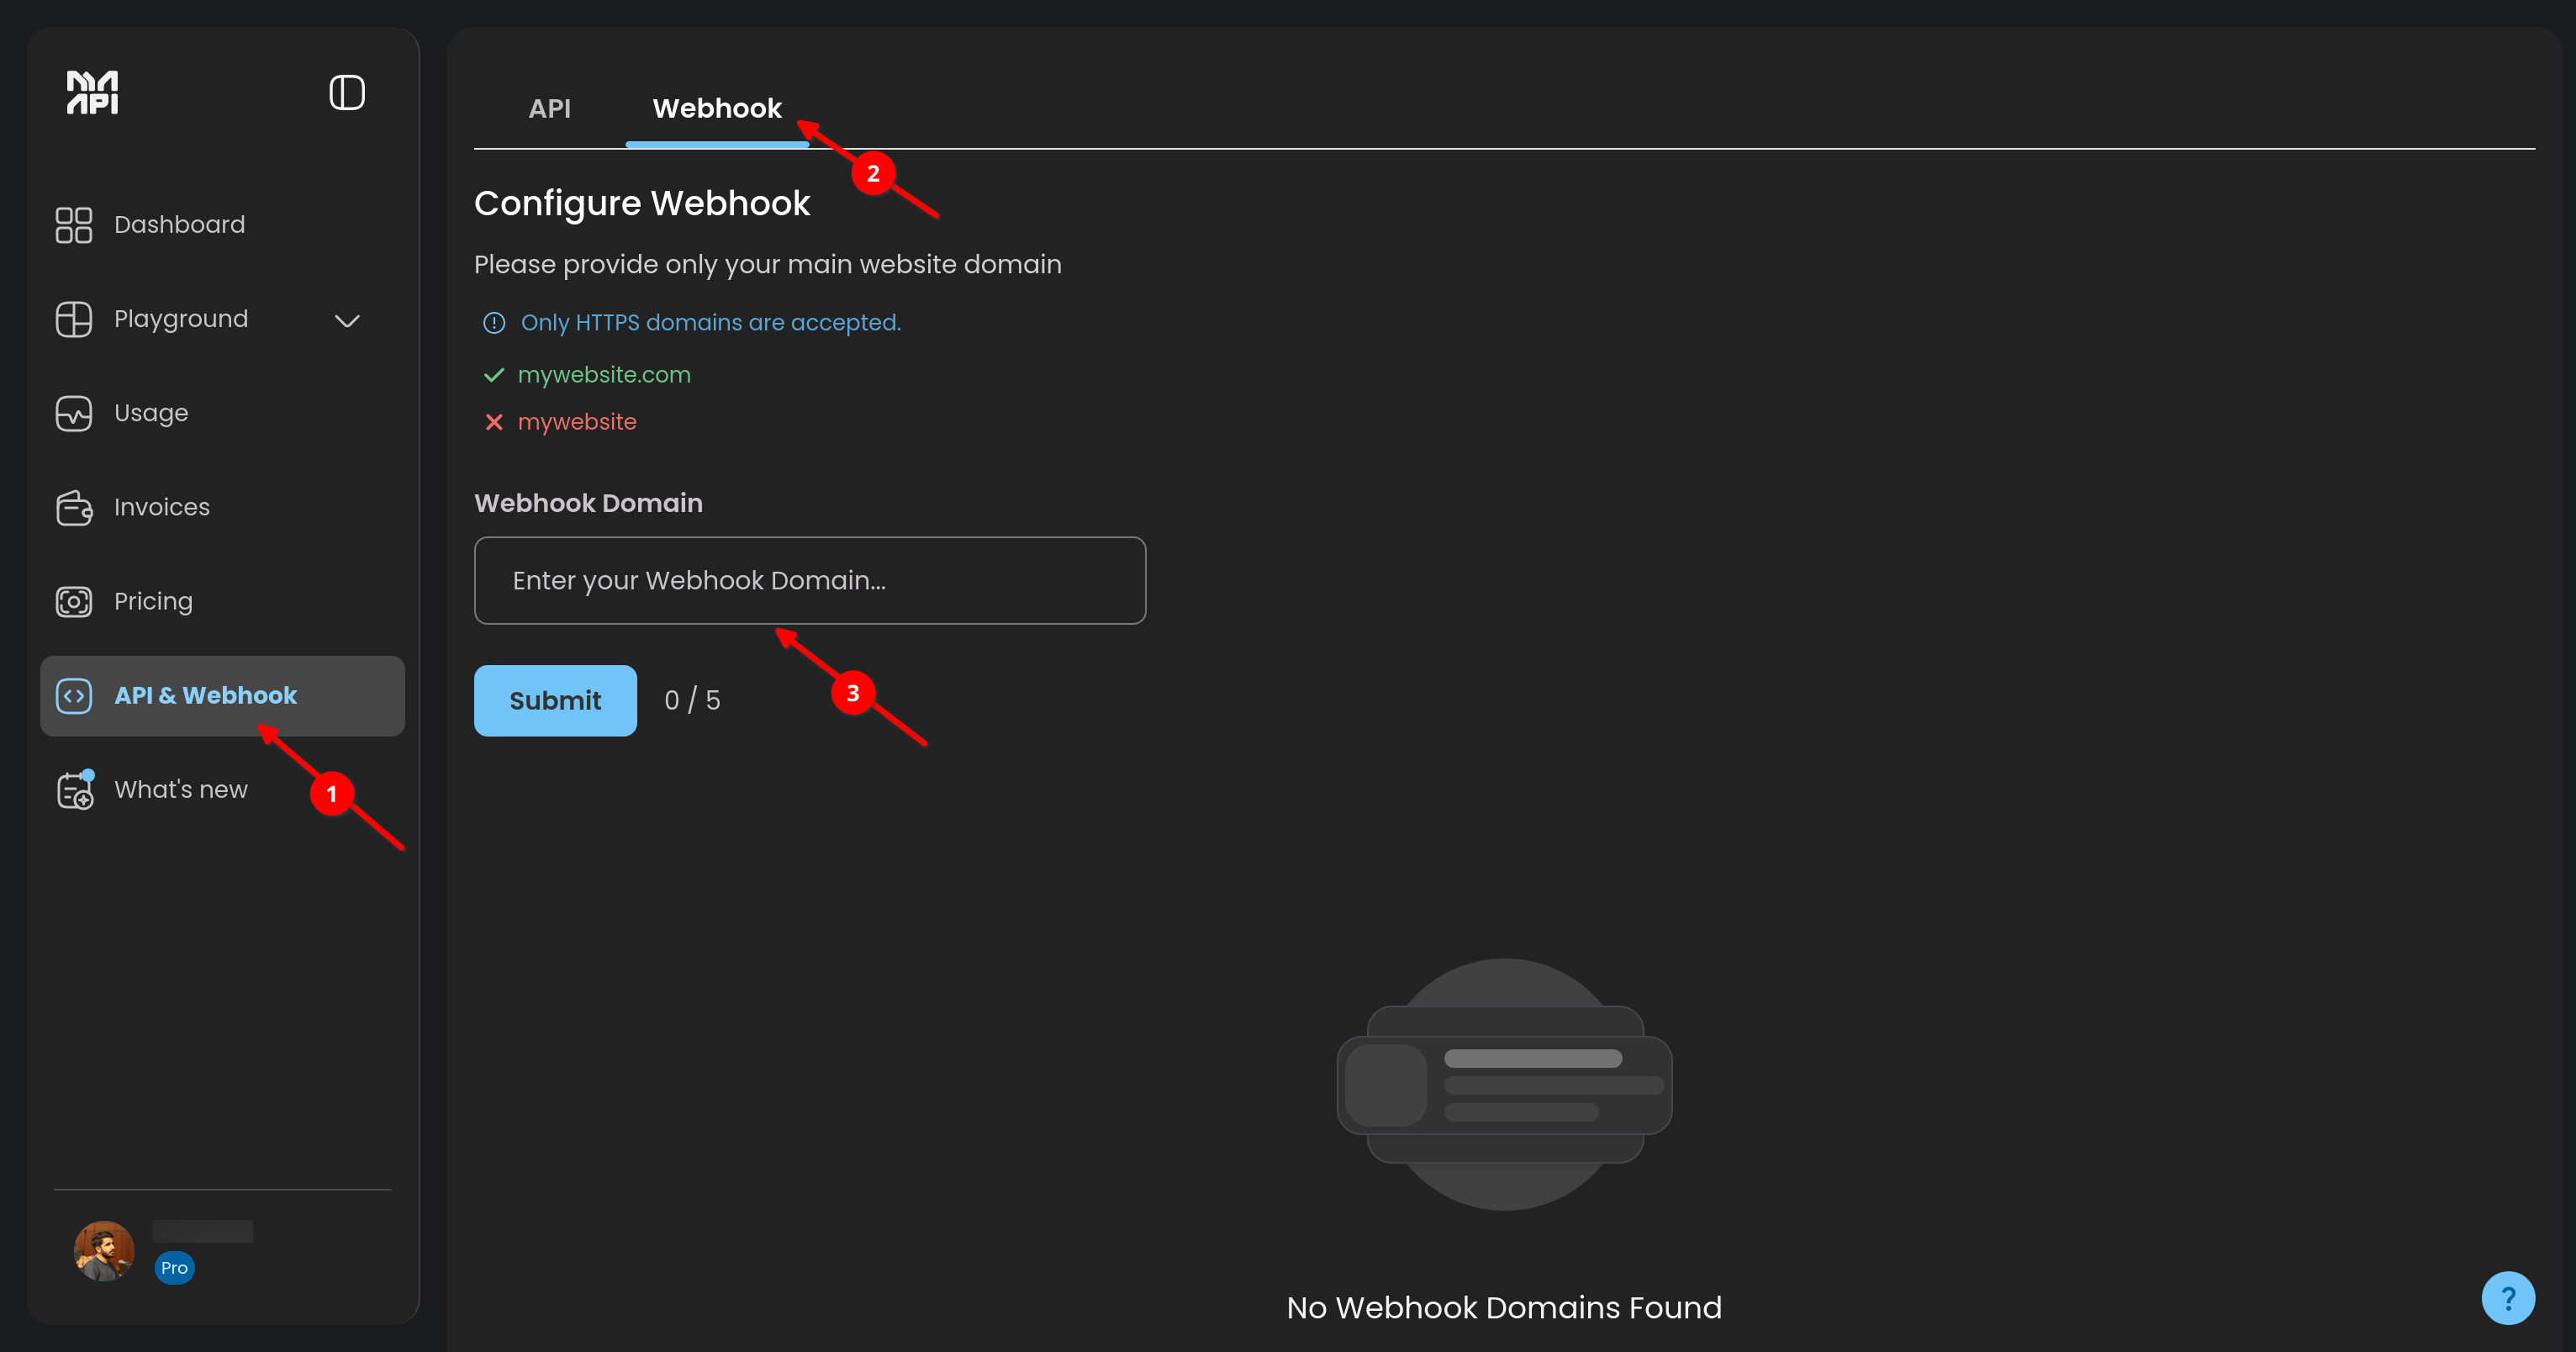
Step 2: Register Your Domain
For security purposes, MagicalAPI only sends webhooks to whitelisted domains. To register your domain:
-
Navigate to Dashboard
- Log in to the MagicalAPI Dashboard
- Go to API & Webhook → Webhook
-
Add Your Domain
- Click on "Add New Domain"
- Enter your domain (e.g.,
yourdomain.com) - Submit for approval
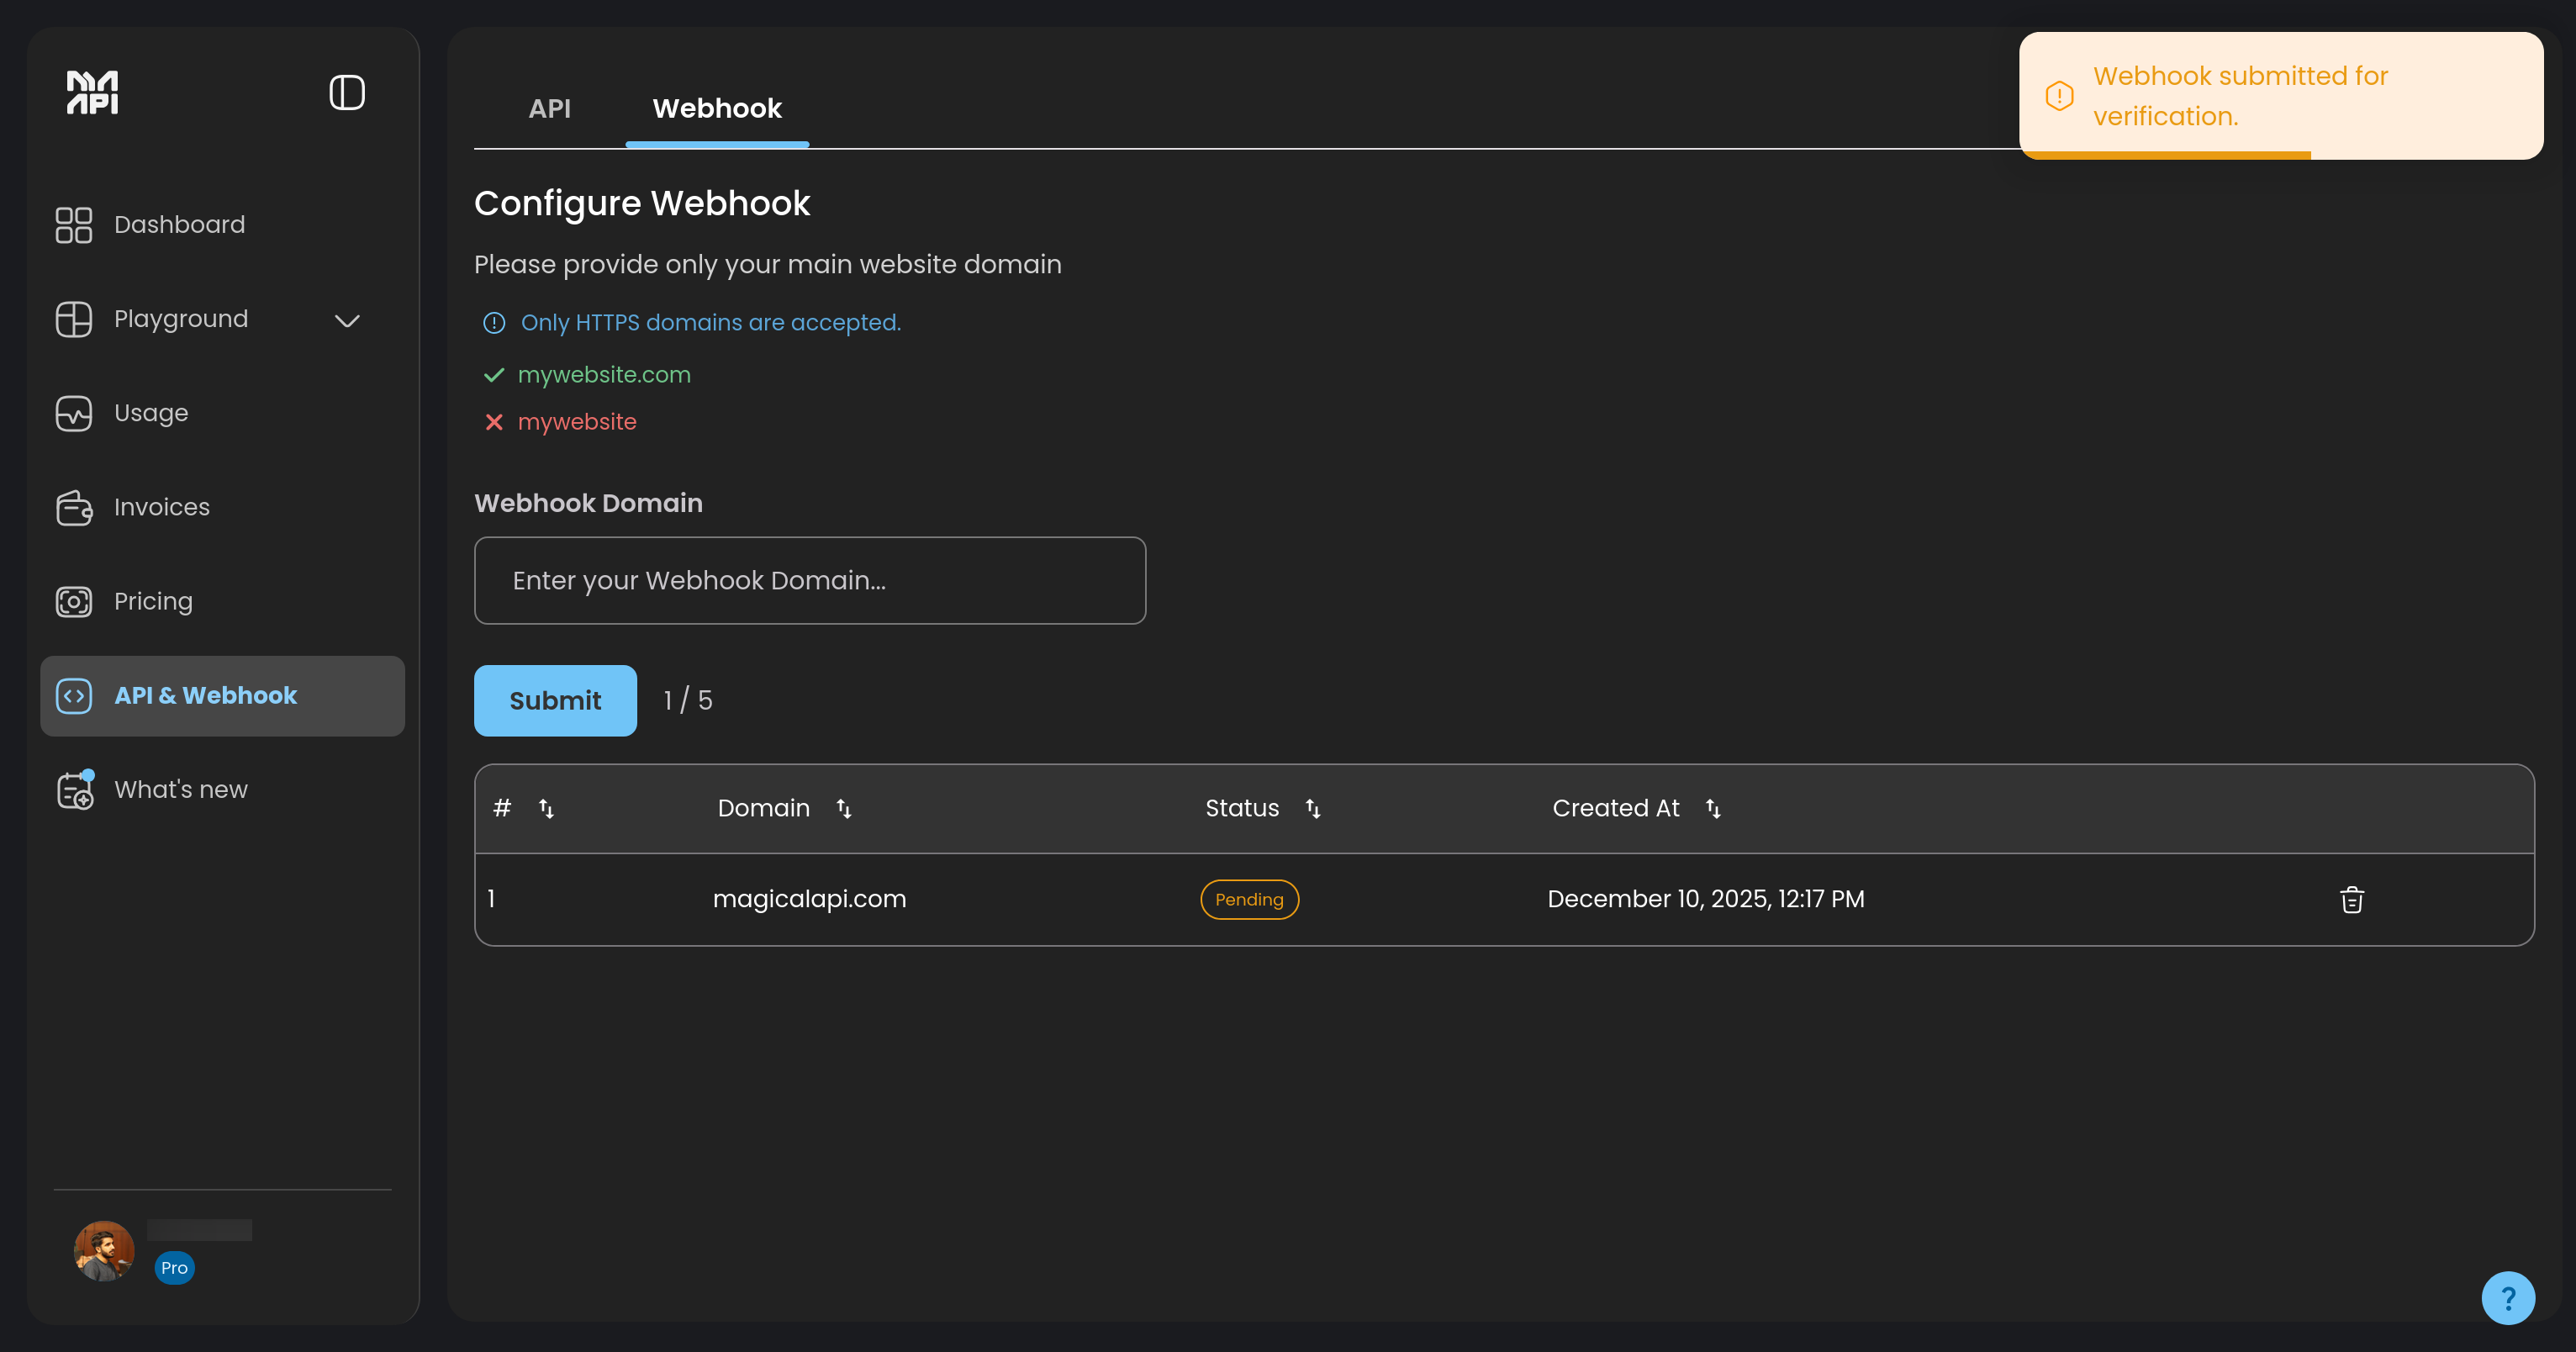
-
Wait for Approval
- The MagicalAPI team will review your domain
- You'll receive a notification once approved
- Approved domains appear in your whitelist with accepted status
-
Start Using Webhooks
- Once approved, you can use webhook URLs from your domain
- Include the
webhook_urlparameter in your API requests
- Must be a valid domain you own
- HTTPS is required for production webhooks
Step 3: Include Webhook in API Requests
Add the webhook_url parameter to any API request:
curl -X POST "https://gw.magicalapi.com/profile-data" \
  -H "Content-Type: application/json" \
  -H "api-key: YOUR-API-KEY" \
  -d '{
    "profile_name": "williamhgates",
    "webhook_url": "https://yourdomain.com/api/webhook"
  }'
Testing Webhooks
Before integrating webhooks into your production workflow, you can test with sample data. Visit the Get Sample Response as Webhook page to:
- Select any MagicalAPI service
- Provide your webhook URL
- Receive a sample response payload immediately
This helps you validate your webhook endpoint and understand the response format before making actual API requests.
Troubleshooting
Webhook Not Received
- Verify your domain is whitelisted and approved
- Check that your endpoint is publicly accessible
- Ensure HTTPS is properly configured
- Review server logs for errors
Webhook Failures
- Check your endpoint returns
200 OK - Verify the endpoint can handle JSON payloads
- Look for timeout issues
- Review firewall rules
Domain Not Approved
- Contact support if approval takes longer than expected
- Verify domain ownership may be required
- Ensure domain meets security requirements
Need Help?
- Test webhooks with sample responses
- Review our API documentation
- Contact support for domain approval issues